It’s been several years now that OVH offers dedicated hosting under 3 brands:
- OVH itself, targeting high-end and enterprises willing to pay top $$$.
- SoYouStart, for good hardware on a reasonable budget.
- Kimsufi, the low-cost offering.
When spinning up a dedicated server, we can pick from installation templates tweakable to some extent (e.g. partition scheme or executing a post-install script), but we’re out of luck if we need anything special – another operating system, a specific filesystem, etc.
One trick is to use IPMI, available on most servers at OVH and allowing to install an ISO image [1][2]. Since SoYouStart is basically retired OVH hardware, some of their servers now have IPMI as well, and I expect so will Kimsufi over time.
But if IPMI is unavailable (or doesn’t work because of Java shenanigans) and we don’t want to pay for KVM IP, one solution is to boot an ISO image from rescue mode via QEMU KVM.
This should work on both OVH, SoYouStart, and Kimsufi.
Enable rescue mode
- Go to the web GUI of the dedicated server.
- Disable monitoring.
- Switch to rescue mode from the Boot / Netboot menu.
- Restart the server.
- Once up, we receive a mail with SSH credentials and can log in.
# ssh root@XXX.XXX.XXX.XXX- As we can see, rescue mode is a Debian-based image:
# uname -a
Linux rescue.ovh.net 4.19.84-mod-std-ipv6-64-rescue #1387440 SMP Fri Aug 21 12:01:09 UTC 2020 x86_64 GNU/Linux
# lsb_release -a
No LSB modules are available.
Distributor ID: Debian
Description:    Debian GNU/Linux 8.9 (jessie)
Release:        8.9
Codename:       jessie
Wipe the disks
Now that we’re in rescue mode, we can wipe the disks clean before installing. It’s not strictly necessary as most installers can repartition, but this way we can handle any RAID / mounting issues right away.
- Check if the server has any software RAID:
# lsblk
# cat /proc/mdstat- If yes (
md0 : active raid1 sda2[0] sdb2[1]), unmount the RAID and stop it:
# umount /dev/md0
# mdadm --stop /dev/md0
If there are errors like umount: /dev/md0: target is busy or mdadm: Cannot get exclusive access to /dev/md0:Perhaps a running process, mounted filesystem or active volume group?, make sure to check volume groups via vgdisplay and /dev/mapper/, removing with dmsetup remove vg-name if necessary.
- Wipe existing partition tables from the disks (
1M * 10should be enough):
# dd if=/dev/zero of=/dev/sda bs=1M count=10
# dd if=/dev/zero of=/dev/sdb bs=1M count=10
Boot ISO via QEMU KVM
With the disks clean, we can prepare the actual installation.
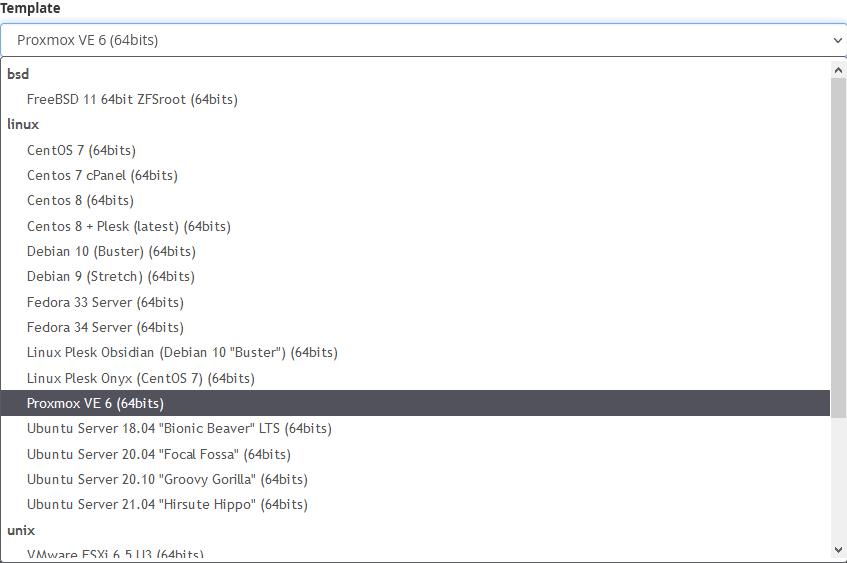
- Download any ISO of our choice. In this example, I will use Proxmox VE:
# wget http://download.proxmox.com/iso/proxmox-ve_7.0-1.iso
# sha256sum proxmox-ve_7.0-1.iso- Install QEMU, KVM, and OVMF (UEFI firmware for VMs):
# apt-get update
# apt-get install qemu qemu-kvm ovmf- Boot ISO via
qemu-system-x86_64, adjusting the following parameters as desired (man page):-enable-kvm: enable KVM virtualization-nodefaults: disable creation of various default devices (we will specify them ourselves)-cdrom /root/proxmox-ve_7.0-1.iso: path to CD-ROM image-hdX /dev/sdX: hardware disks passthrough-bios /usr/share/ovmf/OVMF.fd: load UEFI firmware – defaults to BIOS if not provided-smp 4 -m 4G: set 4 vCPUs and 4 GB virtual RAM-net nic -net user: create a network interface in user mode (bogus NIC for setting up network configuration)-vga std: emulate a standard VGA display-vnc localhost:0: expose first VGA display (0) via VNC onlocalhost-usbdevice tablet: required for proper VNC session mouse support-k language: use a specific keyboard layout (e.g.fr) – VNC session defaults toen-usif not provided
# qemu-system-x86_64 \
  -enable-kvm \
  -nodefaults \
  -cdrom /root/proxmox-ve_7.0-1.iso \
  -hda /dev/sda \
  -hdb /dev/sdb \
  -bios /usr/share/ovmf/OVMF.fd \
  -smp 4 -m 4G \
  -net nic -net user \
  -vga std \
  -vnc localhost:0 \
  -usbdevice tablet \
  -k en-us
Access QEMU KVM via VNC
Now that QEMU is started with our image and exposing display over VNC, we can begin the installation.
- Port forward VNC port via SSH from local machine:
# ssh root@XXX.XXX.XXX.XXX -L 5900:localhost:5900- Connect to
localhost:5900using a VNC client (e.g. TightVNC).
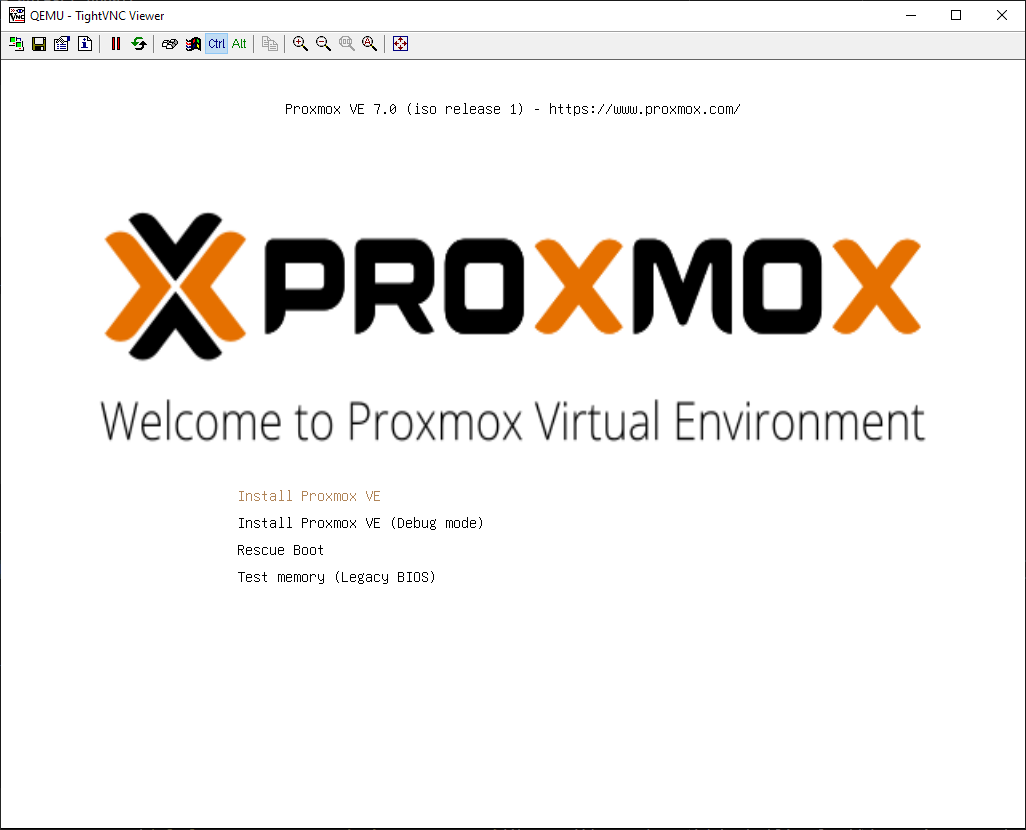
- We should now be presented with our installer: proceed as usual.
- When prompted for network configuration or if manually configuring network from command prompt once installer is done, copy the network configuration as available from rescue mode SSH session:
# ip addr show eth0
6: eth0: <BROADCAST,MULTICAST,UP,LOWER_UP> mtu 1500 qdisc pfifo_fast state UP group default qlen 1000
    inet <SERVER_IP>/24 brd <SERVER_BROADCAST> scope global eth0
# ip route
default via <GATEWAY_IP> dev eth0
# cat /etc/resolv.conf
nameserver 213.186.33.99
Notably:
- IP (
<SERVER_IP>): dedicated server IP (e.g.169.254.10.20). - Gateway (
<GATEWAY_IP>): first three octets of server IP with254as the last octet (e.g.169.254.10.254). - Nameserver: default OVH nameserver is
213.186.33.99.
Disable rescue mode
The disks are now primed: we can exit QEMU and rescue mode.
shutdown nowfrom QEMU VNC session.- Go to the web GUI of the dedicated server.
- Switch to disk from the Boot / Netboot menu.
rebootfrom rescue mode SSH session.
Voilà! At this point, either:
- The server boots just fine and picks up the network configuration.
- The server does not, in which case we can always:
- If available, launch IPMI and investigate (e.g. fix network configuration).
- Switch back to rescue mode and investigate (e.g. mount disks and fix network configuration).
- Switch back to rescue mode and start over.
Don’t forget to re-enable monitoring from the web GUI once satisfied 🙂

